1. Start a new 3dsMax scene.
2. Draw a sphere using the geometry tool. Name this sphere “body”
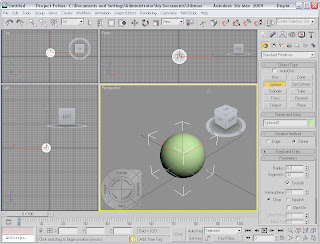
3. Draw a second sphere, smaller than the previous one. Whilst I am not listing dimensions, it is worth mentioning that they need to be proportionate. Name this sphere “head”.
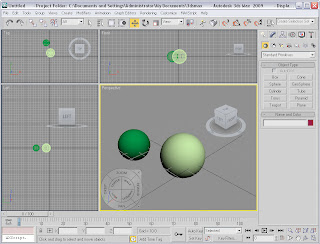
4. You now need to adjust the positioning of the second sphere using the select and move tool so that it is directly on top of the smaller sphere. Make sure that you check the front, top and left/right view to make sure its in the correct place, rather than the perspective viewport.
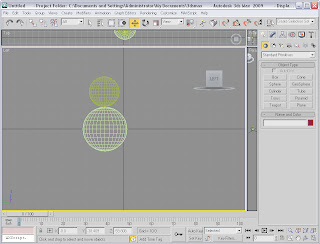
5. Now we need to give the snowman a nose. To create the nose, we start by drawing a cone onto the stage. This is best done in the perspective view.
After drawing the cone, it may be necessary to rotate it so that the point faces away from the snowman’s body.
After rotating the nose, you will most likely need to switch to one of the alternate views and again use the move tool to align it up so it is dead centre. It will be necessary for the nose to intersect the head to make it look more natural.
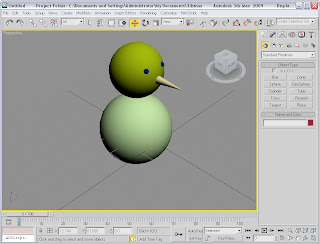
6. The next important stage for us is to add eyes to the snowman. Start by drawing another much smaller than before sphere. You will then need to adjust it into a position similar to the one shown in the image below using the move tool.
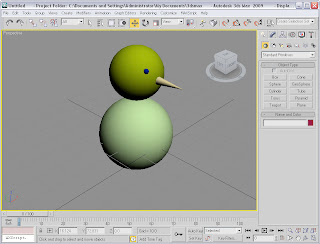
7. To create the opposite sides eye, you will now need to duplicate the first eye. To do this, right click and choose “clone”. Make sure that the box is listed as instance is the one selected, and change the name to “right eye”. Click OK.
A duplicate has now been created, and is actually beneath the current eye. Move the new eye into position using the move tool. The image below should now be similar to what you have so far.
8. Now we have the basics of a snowman, we will add the final piece, a hat.
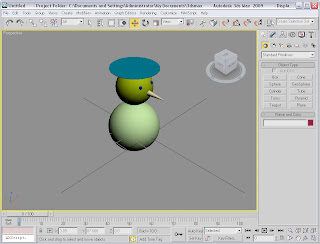
Start by drawing a cylinder. Make sure that the radius is bigger than the head, but not the body, and that the height is no more than 0.3.
Move this cylinder onto the top of the head using the move tool. Chances are, your snowman should now look like below:
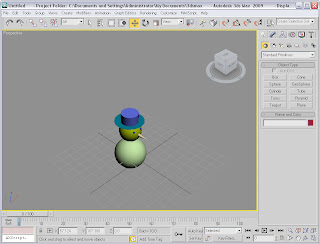
9. Now you need to create the rest of the hat. To do this, create a cylinder with a smaller radius that the last part of the hat, but a much greater height. You snowman is now basically complete, and should look something similar to below:
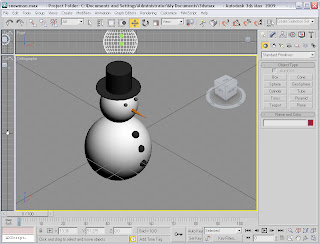
To finish off, add some materials to the snowman to give him colour, and create some buttons, which can be done similarly to when you created the eyes.
1 comment:
Thanks for the practice tutorial
Post a Comment